1.0 Raspberry Pi
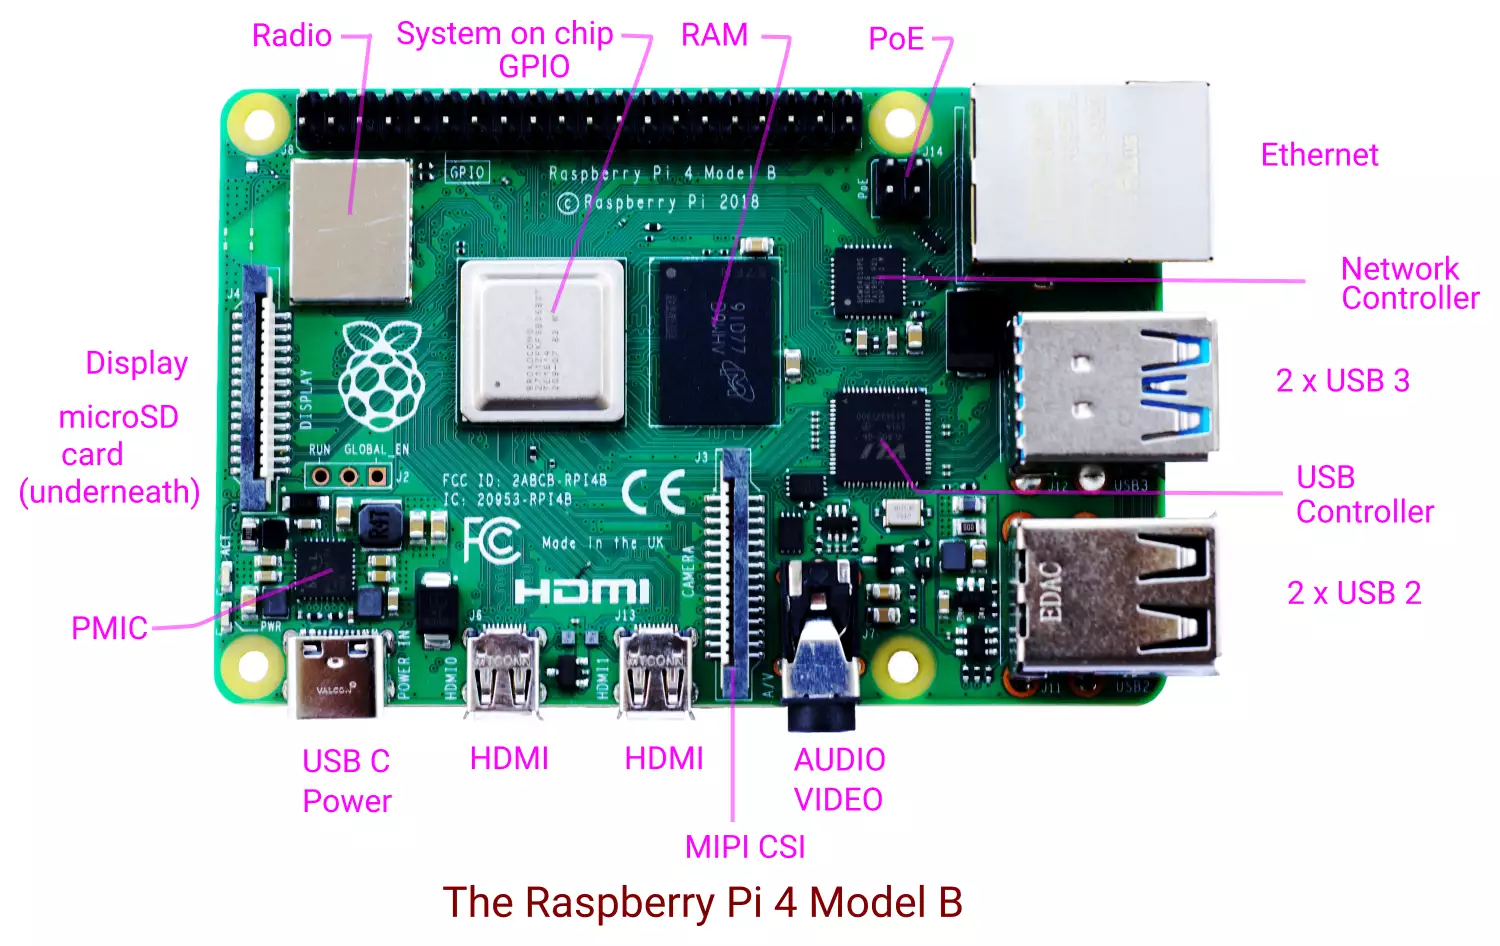
Raspberry Pi is a popular single board computer developed by the Raspberry Pi Foundation in the U.K. Raspberry Pi 4 Model B (Pi4B) was released in June 2019. The main components of Pi4B are:
- The system-on-chip, (Soc). This is the Broadcom BCM2711 SoC, which uses the 64-bit ARM Cortex-A72 quad-core processor as the central processing unit (CPU). BCM2711 also has the 32-bit VideoCore VI 3D multimedia processor, or the graphics processing unit (GPU). The ARM cores run at upto 1.5 GHz, wheras VideoCore runs at upto 500MHz.
- Random access memory (RAM). Pi4B has either 1GB or 2 GB or 4GB of LPDDR4 SDRAM.
- Radio. The radio component comprises of two technologies. It has WiFi (IEEE 802.11 b/g/n/ac) for connecting to local area networks. There is also Bluetooth 5.0 with BLE for connecting with peripherals.
- USB controller.The USB controller is for managing the four USB ports.
- Network controller. The network controller is for running the Ethernet interface.
- Power management integrated circuit (PMIC). The PMIC is for taking the power from the USB C port and providing it to Pi4B.
- USB 3.0 ports. There are two USB 3.0 ports.
- USB 2.0 ports. There are two USB 2.0 ports.
- Ethernet port. There is an Ethernet port for linking Pi4B in a local area network.
- Audio visual interface. This is a 3.5 mm jack for audio and video signal, which can be tapped using a 3.5 mm tip ring ring sleeve (TRRS) plug.
- Camera serial interface (CSI). Pi4B has a MIPI Camera Serial Interface (CSI) connector. A Raspberry Pi camera module can be connected to this.
- HDMI ports. There are two micro High Definition Multimedia Interface (micro HDMI) ports.
- USB Type – C power port. The USB Type C port is for supplying power to Pi4B.
- Display serial interface (DSI). The Display Serial Interface is for connecting a Raspberry Pi touch display to Pi4B.
- GPIO header. The GPIO (General Purpose Input Output) header comprises of two rows of 20 pins each. These can be used for connecting additional hardware like LEDs, joysticks, sensors, etc.
- Power over Ethernet (PoE). The PoE hat is for getting power from the Ethernet connection instead of the USB-C type port.
- microSD card connector. On the bottom side of Pi4B, there is a microSD card connector. Here, a microSD card can be inserted. The misro SD card has the operating system and has place for all your files, the software you install on Pi4B.
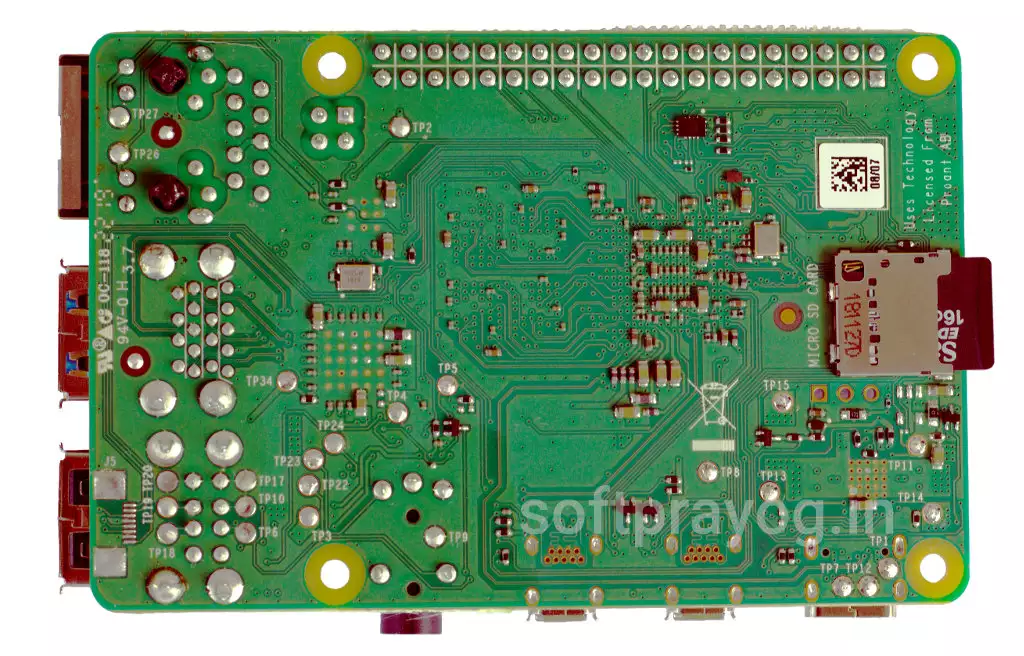 The bottom side of Raspberry Pi 4 showing the micro SD card.
You can put Pi4B in the supplied case and it looks like this.
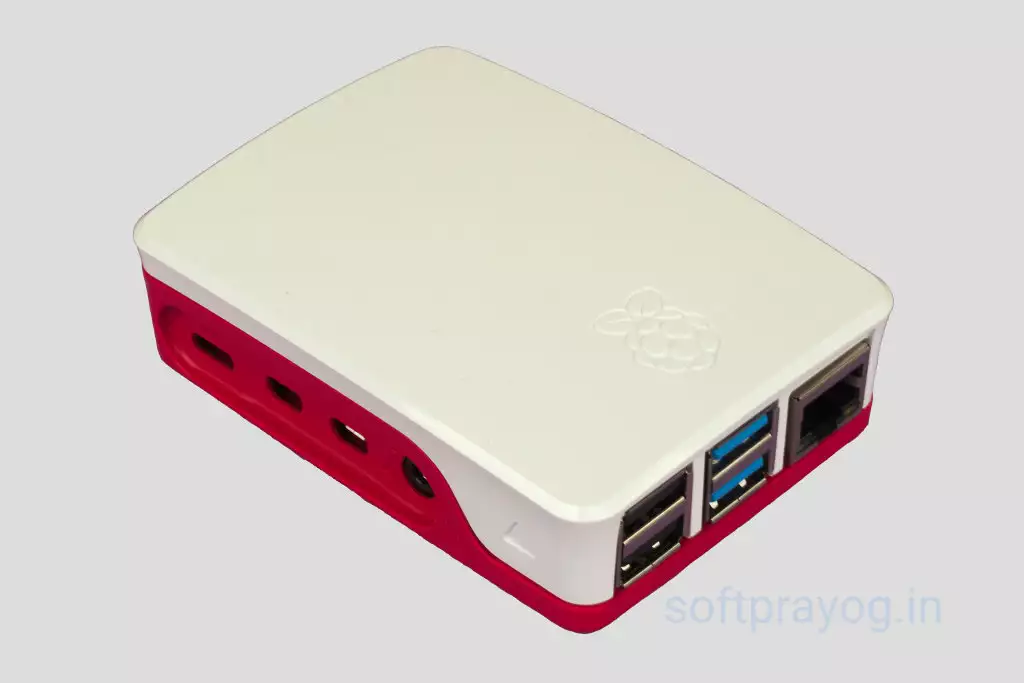
Raspberry Pi 4 in a case.
2.0 Powering ON Raspberry Pi
The next step is to power on the Pi4B and get something running on it.
2.1 Components
We will be using following components in our exercise.
- Raspberry Pi 4 Model B board
- 16 GB micro SD card with New Out-Of-Box Software, NOOBS, or, Raspbian operating system
- USB Power Supply. A 5 volts 3 amperes power supply with a USB-C type connector.
- USB keyboard
- USB mouse
- A TV with HDMI connector
The micro SD card containing NOOBS or Raspbian operating system is inserted in the connector for the card on Pi4B. One of the HDMI ports of Pi4B is connected to the HDMI connector of the TV. The keyboard and mouse are connected to two USB ports on Pi4B respectively. The USB C type connector of Power supply is connected to USB C power connector of Pi4B.
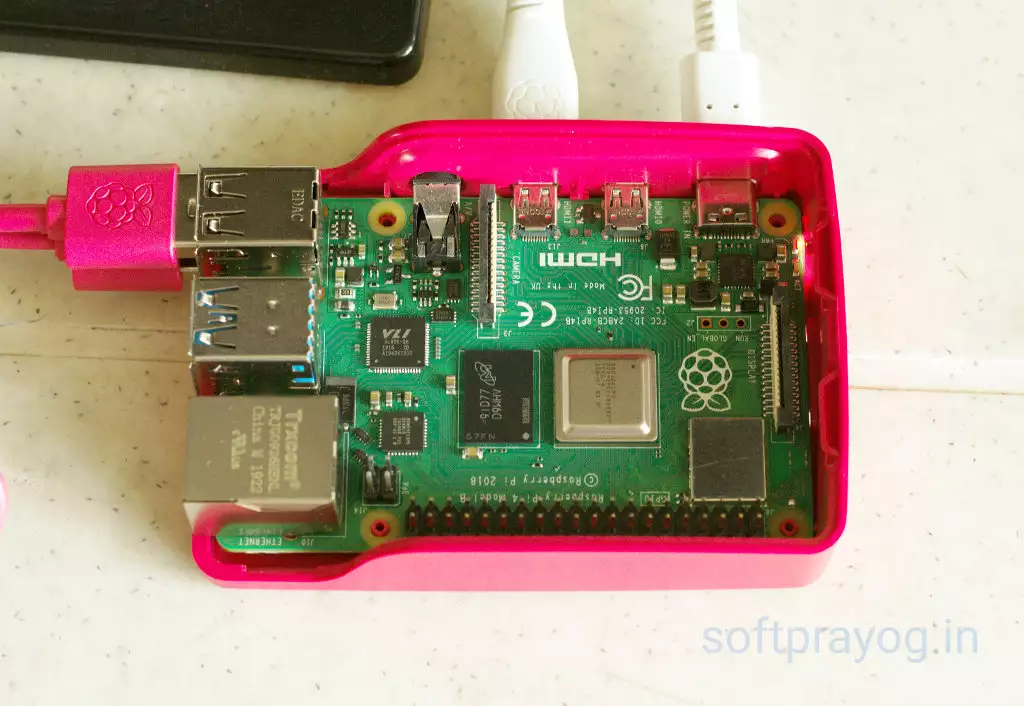
Connecting Raspberry Pi 4 connected to a TV.
The power is turned on for the power supply connected to the Pi4B and the TV. After a small pause, the first screen comes up on the TV. It turns out that the Raspbian operating system is installed on Pi4B.
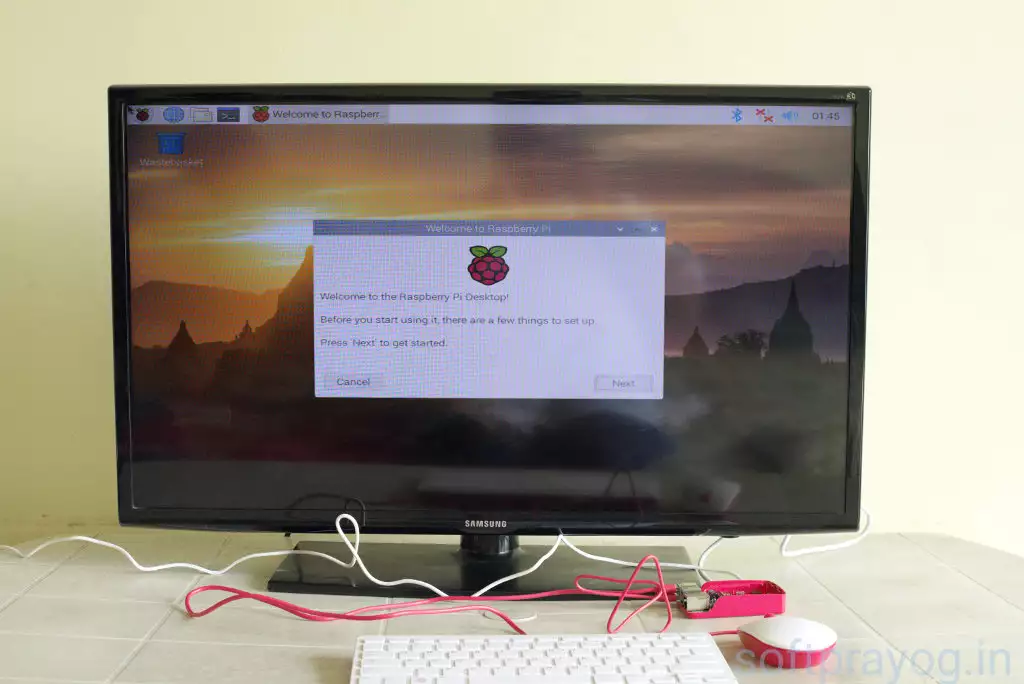
First screen after Raspberry Pi 4 power on
After a few configuration dialogs, Raspbian is running fine and its quite straight forward to connect to the WiFi. PI4b does not have a real time clock, so the system time is incorrect. This is easily rectified by installing the NTP package.
$ sudo apt-get install ntp
We can get the details of the operating system software runnning on Pi4B with the uname command.
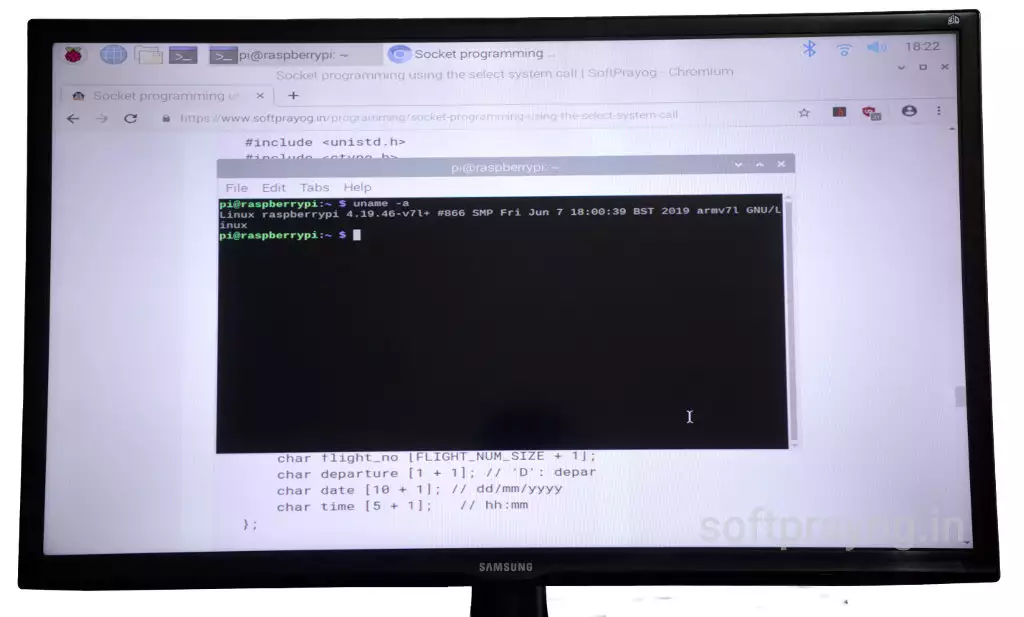
Software details with the uname command
$ uname -a
Linux raspberrypi 4.19.46-v7l+ #866 SMP Fri June 7 18:00:39 BST 2019 armv7l GNU/Linux
This indicates that Raspbian based on Debian 10 distribution, code named Buster and using Linux kernel 4.10, is running on Pi4B.
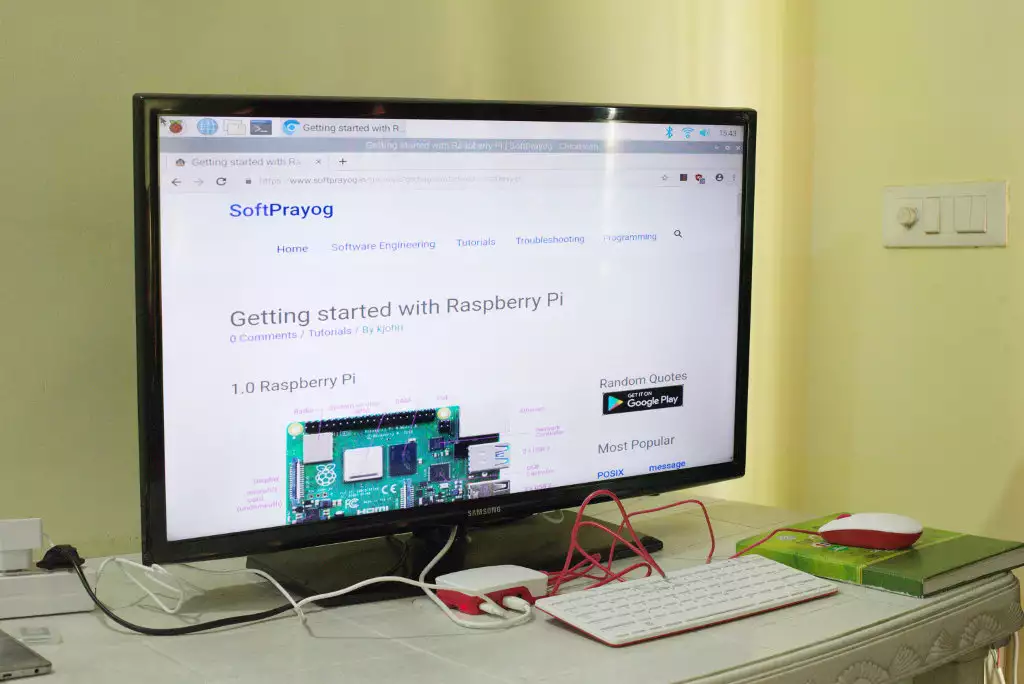
Running the web browser program


